
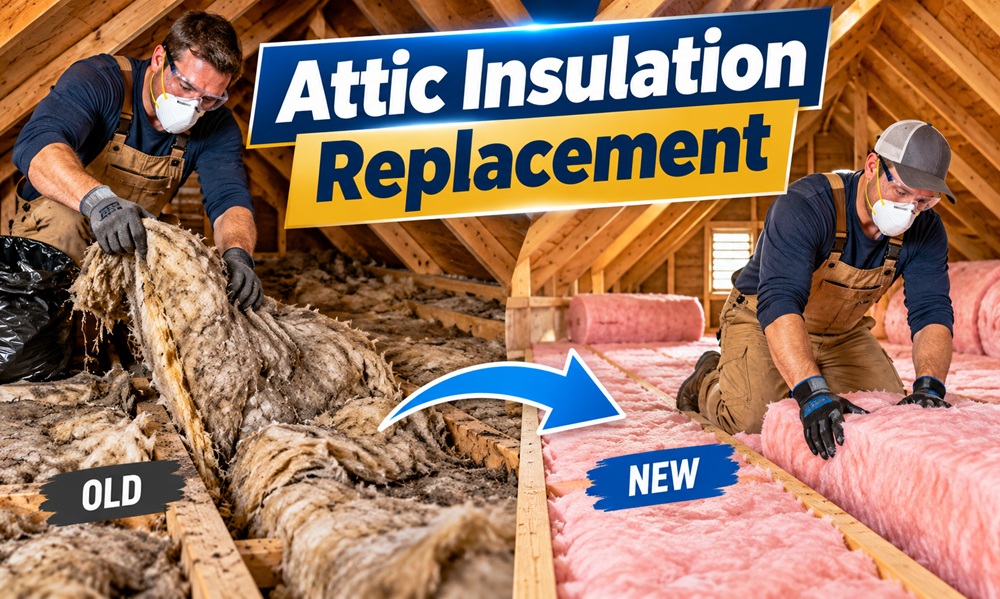
Picture opening the attic hatch and finding insulation that’s flat as a pancake, stained in patches, and dotted with droppings. You could pile new insulation on top, but that wouldn’t fix what’s underneath. Attic insulation replacement means removing the old material and installing fresh insulation, and it’s the right move when the existing layer is wet, contaminated, or too damaged to do its job.
Plenty of attics don’t need that much work. Insulation that is simply thin or old can often be topped up. The trick is knowing which situation you’re in.
Signs your insulation has had it
Insulation doesn’t wear out the way a roof does, but it can lose performance for several reasons. Watch for these.
- Flattened, matted, or clumped material that has lost its loft
- Dark stains, dampness, or a musty smell that points to moisture
- Droppings, nests, tunnels, or chewed material from rodents or other pests
- Soot or a smoky odor left behind after a fire
- Sections that sag, slide, or have been disturbed by earlier repairs
- Visible mold on the insulation or nearby framing
- Rooms below that run noticeably hotter or colder than the rest of the house
A big spike in heating or cooling bills isn’t proof of bad insulation, since many things affect energy use, but it’s a decent reason to take a look.
Replace it or add to it
If the insulation is dry, clean, and just thinner than today’s recommendations, adding a new layer over it is usually the sensible path. It costs less and creates far less mess. Use unfaced material for the added layer so moisture doesn’t get trapped between two vapor barriers.
Removal becomes the better choice, and sometimes the only responsible one, in these cases.
- The insulation has been soaked by a roof leak or plumbing problem.
- Mold is growing on it or on the surfaces around it.
- Animals have nested in it, leaving waste that can spread odor and contaminants.
- Fire or smoke damage has affected the material.
- It contains vermiculite or other material that may have asbestos, which calls for testing first.
Piling clean insulation over a contaminated layer tends to trap odors and hide problems that will resurface later.
A word on vermiculite
Loose, lightweight granules in shades of gray or gold may be vermiculite. Some of it was mined in a way that left traces of asbestos in the product. If your attic has insulation like this, don’t sweep it, vacuum it, or let the dust loose around the house. Contact a qualified professional to test it, and ask what removal or encapsulation options apply in your area. Rules for handling it differ by location, so a local abatement contractor can explain what’s required.
How a replacement project usually unfolds
Every attic is different, but the sequence is fairly consistent.
- Inspect the attic. A contractor looks at the insulation, the roof underside, the ventilation, and any signs of leaks, pests, or electrical problems.
- Fix the cause. Roof leaks, ventilation problems, and pest entry points have to be handled first, or the new insulation will suffer the same fate.
- Protect the home. Crews usually set up containment, cover openings, and run a large vacuum hose from the attic to a truck outside.
- Remove the old material. Industrial vacuums pull out loose fill. Batts are bagged and carried out by hand.
- Clean and treat. Depending on what was found, the space may be disinfected or deodorized, and droppings are cleared away.
- Seal air leaks. Gaps around wiring, plumbing, and the attic hatch are sealed before any new insulation goes down.
- Install baffles and new insulation. Vent baffles protect the soffits, and the new material is installed to a target R-value.
- Final check. The installer confirms depth, coverage, and clearance around flues and fixtures.
Small jobs may move quickly, but a large or heavily damaged attic can take more than a day.
What affects the cost
I can’t give you one price that fits every attic, because the number depends on too many things. These are the ones that move it most.
- Size of the attic and how easy it is to reach
- How much old material has to come out, and whether it’s contaminated
- The type of new insulation you choose
- Target R-value for your climate zone
- Repairs needed for leaks, wiring, ventilation, or pest control
- Local labor rates and disposal rules
- Whether asbestos testing or special handling is needed
Ask for written, itemized quotes from a few insulation contractors and compare what each one includes. A low bid that skips air sealing or baffles can end up costing you more later.
Choosing the right contractor
Look for a licensed and insured company that does this type of work regularly. Ask whether they handle removal and installation themselves or subcontract the work. A good contractor will explain what they found in your attic, point out problem areas, and tell you honestly if a top-up would be enough.
Be cautious if someone insists you need everything torn out without showing you why. Photos or a walk-through of the attic are reasonable things to ask for.
What happens to the old insulation
Old insulation isn’t thrown out the way ordinary household trash is. Clean fiberglass and cellulose can usually go to a landfill under normal rules, but contaminated material, such as insulation with heavy rodent waste or mold, may need to be bagged and handled more carefully. Material suspected of containing asbestos follows separate regulations that vary by location.
Ask your contractor how they plan to dispose of the old material and whether disposal is included in the quote. A professional crew will bag and remove it rather than leaving debris behind or dumping it where it shouldn’t go.
Dealing with pests and the damage they leave
When animals have lived in an attic, replacing the insulation only works if they’re gone for good. Wildlife control comes first, followed by sealing the entry points. Droppings and urine can soak into the material and the wood beneath it, which is why cleanup often goes beyond vacuuming. Some companies offer sanitizing treatments and odor control as part of the job.
Take any wet or moldy areas just as seriously. Insulation can’t dry out in a sealed attic, and the roof deck or framing underneath may need attention before anything new goes in. If you see widespread mold, it’s reasonable to bring in a remediation specialist, since a regular insulation crew may not be equipped for it.
Timing and preparation
Mild weather makes the work easier, though contractors do this year round. Before the crew arrives, clear access to the hatch, move stored belongings out of the attic, and cover furniture near the entry point. If you have pets or anyone sensitive to dust, plan to keep them away from the work area.
After the job, keep an eye on the attic for a few weeks. Make sure there are no new leaks, smells, or signs of pests, and check that the new insulation hasn’t shifted into the soffit areas.
Deciding what to do next
If your attic insulation is dry, clean, and merely thin, add to it. If it’s wet, moldy, soiled, burned, or possibly asbestos-containing, plan for removal and fix the underlying cause first. When you aren’t sure which category you’re in, an inspection is cheap compared with insulating over a problem you can’t see.
