
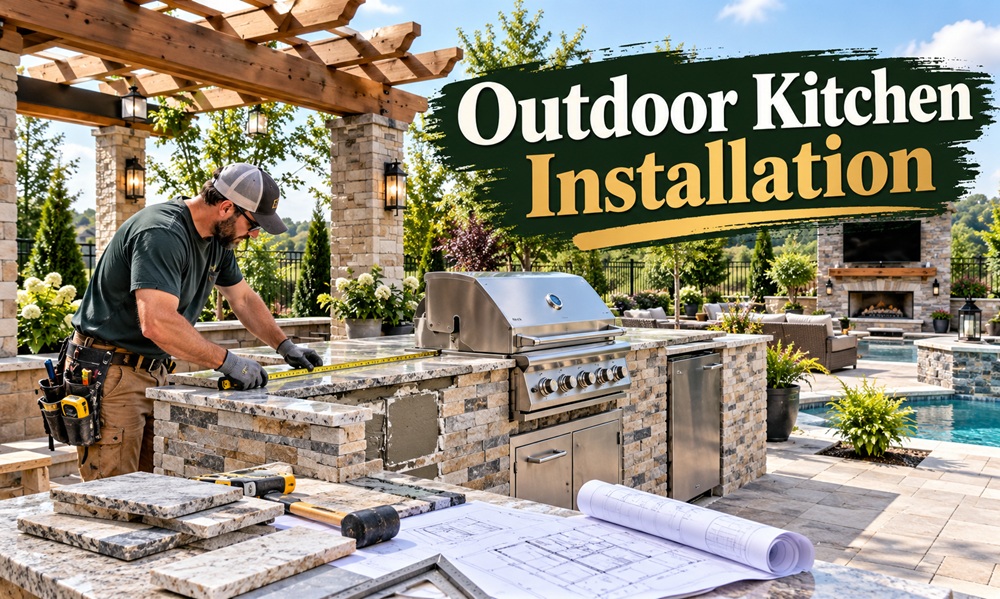
Outdoor kitchen installation usually takes longer than people expect, and most of the delay happens before any construction begins. Planning, permits, utility work, and ordering appliances take time. Once the site is ready, the build itself moves in a predictable order. This guide walks through that order so you know what happens, who handles each part, and where problems tend to appear.
Step one is the plan
Before anything is built, decide what the kitchen includes and where it goes. A grill alone is a simple project. Add a sink, refrigerator, lighting, outlets, a pizza oven, or a roofed structure, and the installation becomes a multi-trade job.
Mark the location with stakes or chalk and look at it throughout the day. Consider sun, wind, distance from the house, and where smoke will drift. Keep the kitchen a safe distance from windows, doors, and overhangs, and check local code for clearances. A rough sketch with measurements saves headaches later, especially when you start matching appliance sizes to cutouts.
Permits and local rules
Depending on where you live, you may need permits for gas lines, electrical work, plumbing, structures, or the kitchen as a whole. Some areas also regulate setbacks from property lines and rules for open flame near buildings. A homeowners association may have its own approval process.
Call your local building department early and ask what applies. A licensed contractor will usually handle permits, but if you’re managing the project yourself, the responsibility is yours. Skipping this step can lead to delays, fines, or trouble when you sell.
Utilities come before the structure
Gas, electricity, and water all affect the layout, so they’re planned before the base is built.
For gas, a natural gas line usually has to be extended from the house by a licensed professional, while propane setups need a safe, ventilated spot for the tank. Electrical work for outdoor outlets, lighting, and refrigeration must use outdoor rated materials, with ground fault protection, and should be done by a qualified electrician. Plumbing needs a supply line and drainage if you want a sink. In cold regions, lines should be designed for winterizing or drained to prevent freeze damage.
Trenching for these lines happens first, which is why it’s worth deciding on appliances before the digging starts.
Building the foundation
Outdoor kitchen bases need a stable, level surface. Many are built on a concrete slab or a well compacted gravel base with pavers, depending on weight and local conditions. A kitchen with heavy stone counters and masonry walls puts significant weight on the ground, so a proper base prevents settling and cracking.
Drainage matters too. The slab or patio should slope slightly away from the structure so water doesn’t pool around the base. Frost depth and soil conditions vary by region, which is another reason to rely on local expertise.
Framing the structure
Most outdoor kitchens are framed from noncombustible materials. Concrete block, steel studs wrapped in cement board, and prefabricated modular frames are common. Wood framing is generally not recommended around grills and other cooking appliances because of the fire risk.
The frame has to match your appliances exactly. Grills, side burners, refrigerators, and sinks each have cutout dimensions and clearance requirements, so builders typically work from the manufacturer’s spec sheets. Leave room for venting in the base, especially where propane is used.
Finishing the exterior and countertops
Once the frame is complete, the outside is finished with stone veneer, stucco, brick, tile, or another weather resistant material. Countertops come next, usually after a template is made so cutouts fit the appliances precisely. Dense natural stone, concrete, and some porcelain slabs are common choices, and each has its own requirements for sealing and care.
Allow time for materials to cure. Concrete, mortar, and grout need proper drying time before heavy use. Rushing this stage can lead to cracks or staining later.
Setting appliances and connecting systems
Appliances go in after the structure and counters are ready. Grills are lowered into their cutouts, often with insulated jackets where the manufacturer requires them. Side burners, refrigerators, storage doors, and sinks follow. Gas connections get tested for leaks by a qualified technician, and electrical circuits are checked for proper operation.
Never skip the testing. Before you cook anything, make sure shutoff valves are accessible, vents are clear, and every appliance operates the way the manual describes.
Lighting, shade, and finishing touches
Lighting, outlets, and covers are often added at this stage. Task lighting over the grill and prep area is a practical priority. Roofed structures, pergolas, and shade sails all require their own planning and, in many places, permits. Any covering above cooking equipment must respect clearance rules and ventilation requirements.
Final details include trash storage, a place for propane tanks if you use them, towel hooks, and storage for tools. These small touches make the kitchen easier to use every day.
Doing it yourself or hiring professionals
A simple kitchen made from prefabricated modular units can be a manageable DIY project for someone with building experience. The risks rise with gas and electrical work, structural builds, and anything involving permits. Those parts belong with licensed professionals in most areas.
A common middle path is to hire a contractor for the utilities and heavy construction, then handle finishing details and landscaping yourself. If you hire out the whole project, ask for a written scope, a timeline, itemized pricing, and proof of license and insurance. Ask who is responsible for permits, inspections, and any warranty on workmanship.
Budgeting for the real project
Costs change a great deal by region, materials, and the number of appliances, so a single number wouldn’t be reliable. It’s more useful to understand what drives the total.
- The scale and shape of the kitchen
- Utility runs, since longer trenches and new gas, power, or plumbing lines add labor
- Structure and finish materials such as stone, tile, or custom masonry
- Countertop material and the complexity of cutouts
- Appliance selection, from basic to premium
- Overhead structures, lighting, and outdoor rated electrical work
- Permits, inspections, and site preparation
Ask for itemized quotes so you can see which parts of the budget are essential and which can be phased in later. Many homeowners build the core of the kitchen first and add refrigeration, a pizza oven, or a roofed structure in a second stage.
Maintenance after installation
Once the kitchen is complete, a little seasonal care protects the investment. Reseal stone or grout as recommended, clean stainless surfaces to prevent rust, and check gas and electrical connections before the cooking season. In freezing climates, drain water lines and cover or store sensitive appliances. Keeping the base free of debris and pests helps the structure last longer.
How long it takes
Timelines depend on size, weather, material lead times, and inspection schedules. A small modular setup can come together in days once everything is on site. A custom masonry kitchen with utilities, a structure overhead, and specialty appliances can stretch across weeks or longer. Ordering stone, appliances, and custom parts early helps keep things moving.
Mistakes worth avoiding
A few errors cause the most grief. Ordering appliances after building the base can lead to cutouts that don’t fit. Skipping ventilation in enclosed cabinets raises safety concerns. Placing the kitchen too far from the house makes carrying food and supplies a chore, while placing it too close can create smoke and fire problems. Underestimating drainage and winter conditions can shorten the life of the whole structure.
Ready for the first cookout
When the final inspection passes and the last connection has been tested, give the kitchen a gentle first run. Season the grill as directed, check for leaks, and cook something simple to see how the space flows. Make notes about what works and what you’d tweak. A well planned installation will serve you for many seasons, and a few small adjustments after the first week are completely normal.
